Step 5
Parts required:
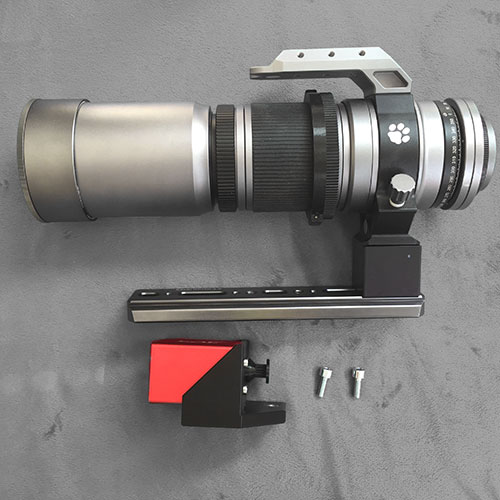
- 1x RedCat/SpaceCat/WhiteCat with dovetail
- 1x EAF
- 2x 16mm M6 bolts
- 1x MXL timing belt

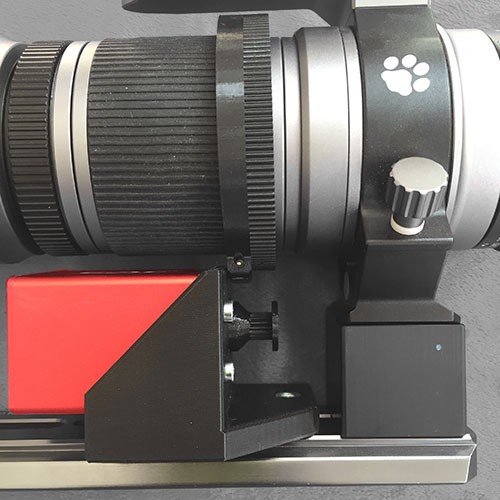
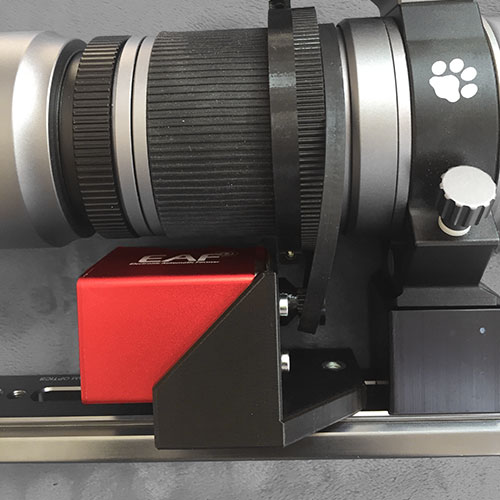
Slide motor & dovetail assembly so that the 3D printed pulley is in line with the 3D printed
ring. Tighten down all 4 M6 bolts.

Slide the timing belt onto the telescope
from the front. Put it over and onto the 3D printed pulley. Leave the upper part
of the belt in front of the 3D printed ring teeth.

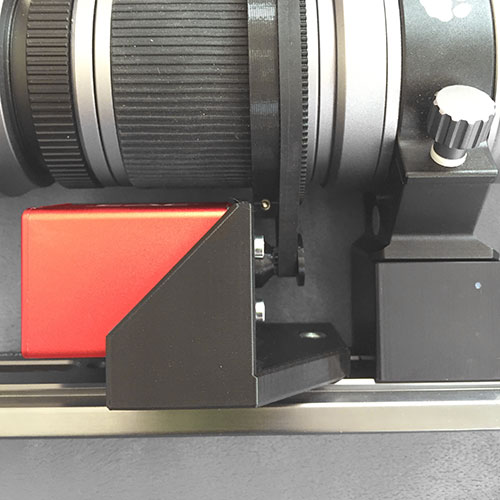
Now put the rest of the belt onto the 3D printed ring. Work by going through the length of
the belt gradually. Some force should be required.
- if you can put the belt on too easily, there is not enough tenison. Replace the 1mm spacer with 0.5mm spacer (Step 2).
- if you cant get the belt onto the ring, there is too much tension. Add 0.5mm spacer between the EAF and the 3D printed mounting plate (Step 2)
