EAF Askar 180mm kit - assembly instructions

Step 1

Parts required:
  • 1x Askar 180 lens, assembled (with rings and reducer)
  • 2x 10mm M3 bolt (for 3D printed helical focuser compression ring)
  • 1x 3D printed helical focuser compression MXL ring

Attach the compression ring onto the focusing ring of the lens, with teeth facing forwards.

Step 2

Parts required:
  • 1x Askar 180 lens
  • 1x ZWO EAF mount (trolley, rails, compression rings)

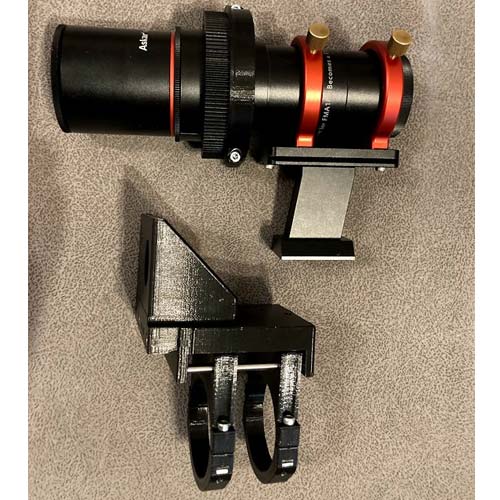
Attach the ZWO EAF mount to the lens in manner demonstrated on the photo. Do not tighten the bolts fully yet.

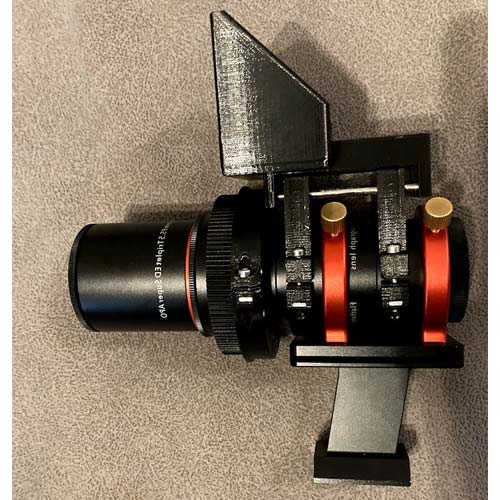
Follow the instructions on the video below to put the compression rings in optimal position (AF3s instructions apply to EAF mount too):

Step 3

Parts required:
  • 1x Askar 180 lens with ZWO EAF mount attached
  • 1x ZWO EAF
  • 2x 8mm M4 bolt with washer (for attaching EAF)
  • 1x 20T MXL pulley

Attach the MXL pulley onto the motor shaft like demonstrated on the photo.

Attach ZWO EAF in the mount with 2x 8mm M4 bolt with washer

Step 4

Parts required:
  • 1x Askar 180 lens with ZWO EAF mounted
  • 1x MXL timing belt
  • 1x 3D printed helical focuser compression MXL ring lid
  • 6x 25mm M3 bolt (for attaching MXL ring lid)

First attach MXL belt to the motor pulley and after that slide it onto the lens MXL ring.

Attach and secure the MXL ring lid with 6x 25mm M3 bolts

Step 5

Parts required:
  • 1x Askar 180 lens with ZWO EAF mounted
  • 1x 3D printed helical focuser compression MXL ring arm
  • 2x 35mm M3 bolt (for attaching MXL ring arm)

Attach the arm with 2x 35mm M3 bolts

Thats it! Happy autofocusing!