AF3s Askar 180mm kit - assembly instructions

Step 1

Parts required:
  • 1x Askar 180 lens, assembled (with rings and reducer)
  • 2x 10mm M3 bolt (for 3D printed helical focuser compression ring)
  • 1x 3D printed helical focuser compression MXL ring

Attach the compression ring onto the focusing ring of the lens, with teeth facing forwards.

Step 2

Parts required:
  • 1x Askar 180 lens
  • 1x AF3s unit, assembled (trolley, rails, compression rings)

Attach the AF3s to the lens in manner demonstrated on the photo. Do not tighten the bolts fully yet.

Follow the instructions on the video below to put the compression rings in optimal position:

Step 3

Parts required:
  • 1x Askar 180 lens with AF3s mounted
  • 1x MXL timing belt
  • 1x 3D printed helical focuser compression MXL ring lid
  • 6x 25mm M3 bolt (for attaching MXL ring lid)

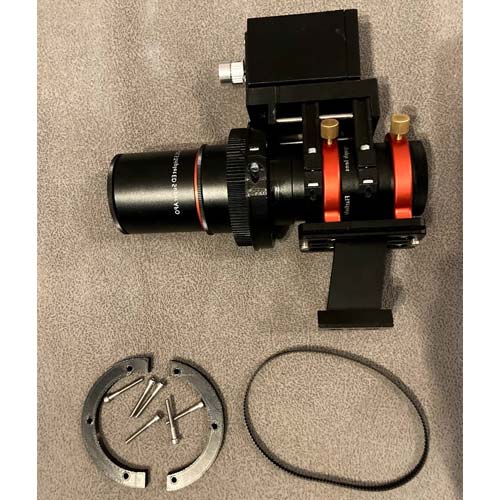
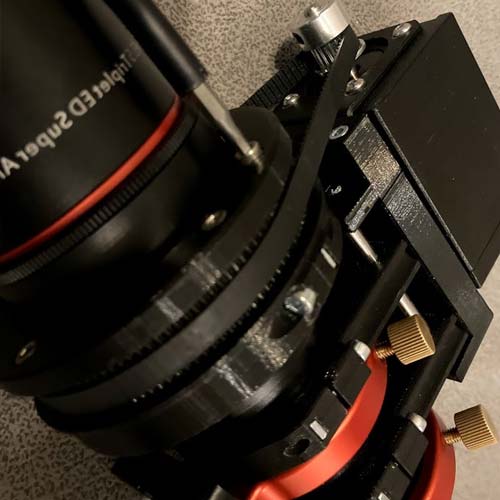
First attach MXL belt to the motor pulley and after that slide it onto the lens MXL ring.

Attach and secure the MXL ring lid with 6x 25mm M3 bolts

To achive optimal belt tension, please follow the video below (principle is the same as for microfocusing knob solution):

Step 4

Parts required:
  • 1x Askar 180 lens with AF3s mounted
  • 1x 3D printed helical focuser compression MXL ring arm
  • 2x 35mm M3 bolt (for attaching MXL ring arm)

Attach the arm with 2x 35mm M3 bolts

Thats it! Happy autofocusing!